How to Effectively Clean a Showerhead
Posted by Moore Home Services
Plumbing
The best part of our day is coming home and taking a nice, warm shower. But what happens when your showerhead is too dirty? Your nice shower is interrupted by an uneven flow.
We’ve written before about the problems caused by hard water. Unfortunately, without proper care, hard water can make your shower experience not so nice. Here is our guide for how to clean a showerhead.
How do Showerheads Get Dirty?

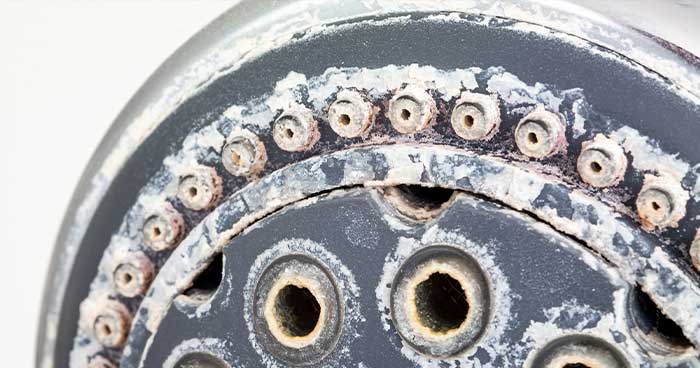
We briefly mentioned it above, but hard water is usually the main culprit when it comes to crud on your showerhead. Hard water filled with calcium, magnesium, and lime is a thorn in the side of every Santa Rosa homeowner.
After hard water passes through your showerhead, it leaves behind mineral deposits. Over time, these deposits leave scale and buildup that not only look bad, but they can also clog your showerhead.
How Often Should I Clean the Showerhead?

The most annoying thing about the mineral deposits that clog your showerhead is that they get in the way of the nice waterflow you’ve come to expect with a good shower.
There’s no set or specific timeframe in which you should clean your showerhead. We just say to clean it when you notice a change in waterflow. For some households, that’s every other month, for others, ever few weeks.
It all depends on how hard the water in your area is, how often you use the shower, and how many people are in your household.
How to Clean Your Showerhead

The best way to clean a showerhead is with supplies you probably
have in your pantry. All you need is white vinegar, plastic foot storage back, rubber band, a washcloth, and an old toothbrush.
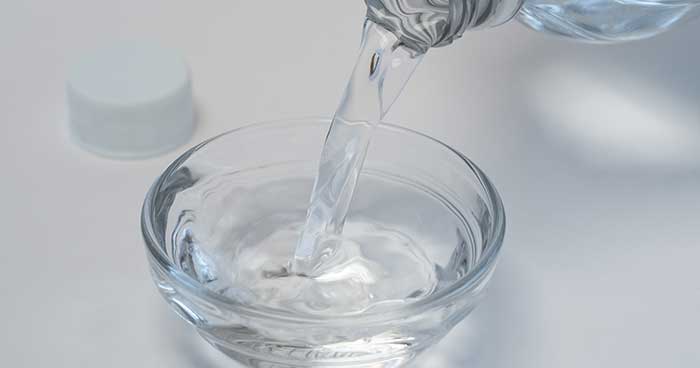
- The first step is to pour at least a cup of vinegar into the plastic food storage bag. For larger showerheads, you’ll need more than a cup of vinegar and a larger bag. The bag should fit over your showerhead.
- Dip the showerhead into the bag and secure the bag to the shower arm. This is when you can adjust the amount of vinegar in the plastic bag. Add more if needed and take out anything that’s spilling over.Secure the bag with a rubber band, masking tape, or a zip tie.
- Next, just let the showerhead soak. Since the vinegar needs to stay a room temperature, it takes a bit longer than usual. Sit down and watch a movie or a few episodes of your favorite TV show.The exception to this is if you have a brass, gold or nickel coated showerhead. Leave the bag of vinegar on for only 30 minutes. Anything longer can damage the finish.
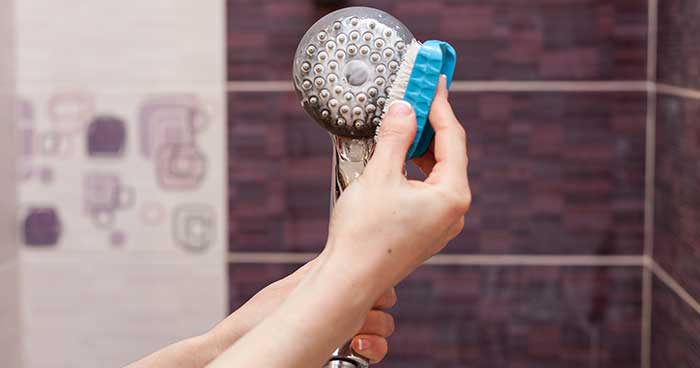
- After the proper amount of time has elapsed, take off the bag. Use the washcloth and gently wipe down the showerhead. Lightly scrub water openings with an old toothbrush dipped in vinegar.
- Once everything is wiped down, turn on the shower for a few minutes. Let the warm water rinse away the vinegar and any remaining debris.
For an easy way to maintain your showerhead between cleanings, keep a spray bottle filled with a 50/50 solution of white vinegar and water. Quickly spray the showerhead after every use.
What You Should Not Use

While it’s fairly easy to source the supplies needed to clean a showerhead, there are some household items you should never use.
The first thing that comes to mind is bleach. You should never use bleach to clean a showerhead. Contrary to what you may think,
bleach increases bacteria growth on your showerhead.
Another thing you shouldn’t use is a premade chemical cleaner. It’s easy to find something in the cleaning aisle at your local grocery store, but we can guarantee that harsh chemicals have the potential to damage your showerhead.
The final thing we advise against is the use of hard brushes. Course brushes can scratch the finish of your showerhead and leave it a streaky mess.
 We briefly mentioned it above, but hard water is usually the main culprit when it comes to crud on your showerhead. Hard water filled with calcium, magnesium, and lime is a thorn in the side of every Santa Rosa homeowner.
After hard water passes through your showerhead, it leaves behind mineral deposits. Over time, these deposits leave scale and buildup that not only look bad, but they can also clog your showerhead.
 The most annoying thing about the mineral deposits that clog your showerhead is that they get in the way of the nice waterflow you’ve come to expect with a good shower.
There’s no set or specific timeframe in which you should clean your showerhead. We just say to clean it when you notice a change in waterflow. For some households, that’s every other month, for others, ever few weeks.
It all depends on how hard the water in your area is, how often you use the shower, and how many people are in your household.
 The best way to clean a showerhead is with supplies you probably have in your pantry. All you need is white vinegar, plastic foot storage back, rubber band, a washcloth, and an old toothbrush.
 While it’s fairly easy to source the supplies needed to clean a showerhead, there are some household items you should never use.
The first thing that comes to mind is bleach. You should never use bleach to clean a showerhead. Contrary to what you may think, bleach increases bacteria growth on your showerhead.
Another thing you shouldn’t use is a premade chemical cleaner. It’s easy to find something in the cleaning aisle at your local grocery store, but we can guarantee that harsh chemicals have the potential to damage your showerhead.
The final thing we advise against is the use of hard brushes. Course brushes can scratch the finish of your showerhead and leave it a streaky mess.

