4 of the Most Common Water Heater Issues and How to Fix Them.
In today’s world, hot water isn’t a luxury — it’s a necessity. Every time we do the washing up, have a soak in the tub, or hop in the shower, we don’t consider how heavy our reliance is on our water heater. That is, until it breaks.
So, what do you do if your hot water isn’t working? If the water is too hot, too cold, a weird color, or flowing from the wrong places, the issue needs to be addressed and solved.
The good news is that paying a hefty repair bill isn’t always necessary. If you know how to troubleshoot a water heater, you’re reducing the chances of paying huge repair bills.
Luckily, this article will teach you how to identify and solve common water heater problems yourself. Remember, though, if there are any steps that make you feel uncomfortable, and you’d rather leave it to the pros, you can always contact us.
That said, we’ve outlined what you need to do, step by step, to fix your hot water problems. In short, this article will teach you what to do when your water heater is not working.
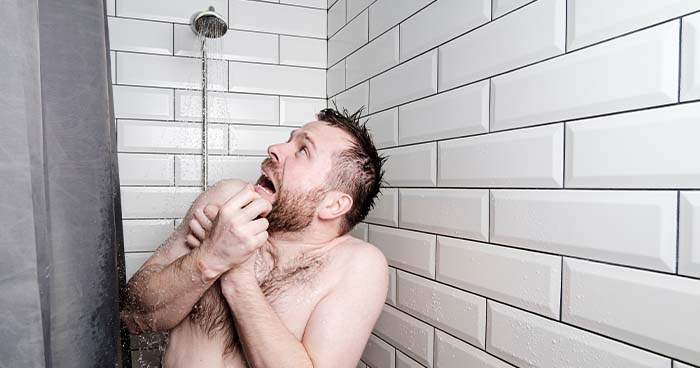
My Hot Water Is Not Working, but My Cold Water Is
Having no hot water is probably the most obvious symptom of a problematic water heater. The purpose of a water heater is — you guessed it! — to heat your water.
So, if you have no hot water, there’s a breakdown somewhere. This is usually something to do with your power, your thermostat, or the heating elements.
The best problem, out of the three, is a trip in power. So, check there first. Use your service panel to make sure it hasn’t tripped. If it has, you can turn the water heater off and on again, and it should work.
If it hasn’t tripped, though, you’ll need to look at the high temperature limit on your water heater and reset it. This is a lot less complicated than it sounds. Simply follow these 5 steps:
Switch off the breaker to your water heater’s power. Make sure you don’t skip this step — it’s dangerous if it’s left on.
Remove the access panel, insulation, and safety guard. Don’t touch any of the wires or electrical terminals.
Locate the red, high-temperature cutoff reset button. Press it.
Put your safety guard, insulation, and access panel back.
Switch on your water heater’s power.
My Water Is Coming Out Too Hot
Our previous problem was having no hot water at all. This issue revolves around water that is far too hot. Many would prefer this problem. However, the reality is just as frustrating.
If your hot water is coming out scalding, it’s most likely due to the temperature settings being set too high. Fortunately, there’s an easy solution to this, which requires you to reset the temperatures on the thermostats.
To reset the temperature settings on your water heater, follow these steps:
Make sure any power connected to the water heater is switched off entirely.
Remove the access panel, insulation, and safety guards on the sets of the water heater. Be cautious not to touch any wires or electric terminals.
Double check the power is switched off by using a non-contact voltage tester.
Once you’ve confirmed that the power is off, have a look at the heat settings on both of your thermostats. You should see that they both display the same number.
Use a flathead screwdriver to change the temperature on one of the thermostats, setting it to a temperature between 115 and 125 degrees.
Do the same for the other thermostat.
Reinstall the safety guards, insulation, and access panel.
Switch the power on once again.
My Water Heater Is Not Working and Leaking. What Should I Do?
When someone notices a leak in their water heater, they start to panic. Unchecked leaks can lead to water damage to your floors, walls, and possessions. This requires repair, which can get expensive.
The good thing is that you can try to fix the leak at home. Your solution is dependent on where the leak is coming from. So, you must first locate the leak.
To find a leak in your water heater, turn the power off, but don’t switch off the cold water inlet. If this is switched off, there might not be enough pressure, which causes the leak to hide. Once you’ve turned everything on again, the leak will jump back into action.
If you can’t visibly see the leak after the power is off, try running your hand over the pipes and fittings. Make sure your hand is dry, as you’ll need to feel around for any moisture to indicate where the leak is located.
If you still can’t find the leak, wrap the pipes and fittings in tissue paper. The material allows clear visibility when moisture is absorbed, so keep an eye on it to find the location of your leak.
Once you have found whether your leak is coming from the top of your water heater or the bottom of your water heater, you can then solve the issue.
My Water Heater Is Leaking from the Top
When a water heater leaks from the top, it’s often down to loosely fastened hot or cold outlet pipes, or a faulty temperature and pressure (T&P) valve.
Here’s how to solve both of those problems:
How to Fix a Leaky Valve
If you have a leak in your valve, it’s a very straightforward fix. You need to only tighten the nut that’s holding the valve in place. Tighten it as much as possible, and if the leak remains, you’ll need to replace the component.
How to Fix a Leaking T&P Valve
A T&P valve works in your water heater to prevent excess pressure from bursting out of your pipes and taps. For such a little component, it carries heavy responsibility. If it’s worn-down or faulty, you could have a case of over pressurization. This can result in leaks, broken thermostats, and water damage.
You’ll find your T&P valve at the top of your water heater, right in the middle. Once located, inspect it for any leaks. If you find one, replace your temperature and pressure relief valve.
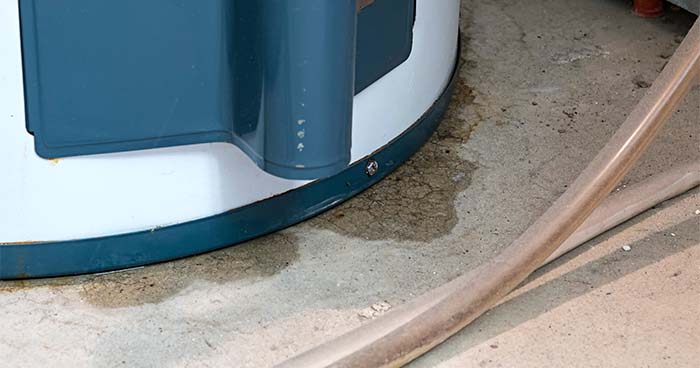
My Water Heater Is Leaking from the Bottom
When a water heater is leaking from the bottom, it’s usually down to a build-up of condensation, a broken heating element gasket, or, as above, a problem with the T&P valve.
If it’s none of the above problems and the leak is coming from the water heater itself, it needs to be replaced. This can be pricey, so it’s best to check that it’s not one of those problems before you find a new water heater.
How to Fix a Leaking Drain Valve on Your Water Heater
You can locate the drain valve on your water heater at the bottom of the machine. It’s often used when the water heater is being removed, or it’s being deep cleaned.
If you spot a leak coming from the opening of the valve, you need to act quickly to solve the problem. Without quick action, it could escalate and result in serious water damage. In fact, the entire water heater can break if you’re not quick to solve the problem, which, as we’ve said, can be costly.
Firstly, eliminate the obvious by ensuring the valve is fully closed. Turn it as tight as you can to shut it, and if the leak persists, it’s time to replace the valve.
This is how you replace the valve on your water heater:
Connect the valve to a garden hose and ensure that the other end of your hose sits outside.
Switch off the water inlet for your water heater. You can find it at the top of your water heater on the cold water line.
Open the valve and let it drain.
Once empty, remove the valve.
Wrap the threads of your replacement drain valve using Teflon or joint compound.
Set it in place, screwing it in manually as much as you can.
Finish setting it into place with a wrench, tightening roughly another half a turn.
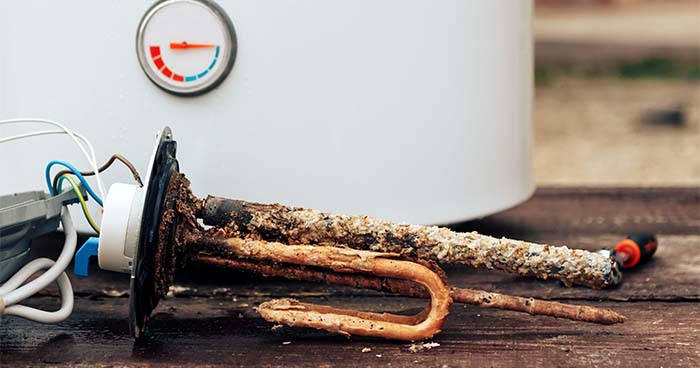
My Hot Water Is Reddish Brown
There’s no clearer sign of a problem than water that is brown, red, and/or rusty colored. As you know, your water should be transparent. So, water that’s off color could result in contamination, and cause health problems.
Usually, reddish-brown water is because of a corroded anode rod. If you’ve fallen victim to dirty and rusty colored water, you’ll need to remove and then replace your anode rod in your water heater.
Here’s how you remove and replace your anode rod:
Switch off any power to your water, including the cold water supply line.
Locate the anode rod. It’s usually at the top of your water heater, on the side.
Connect a garden hose to the water heater and drain around 10 percent of the tank into an outside environment.
After drainage, let your tank cool.
Use a boxed end wrench to remove the anode rod. Don’t use liquid solutions like Liquid Wrench, as this will contaminate your water.
Ensure the threads are pointing downwards when installing the new anode rod. Use plumber’s tape or joint compound for wrapping.
Install the new anode rod manually until you meet resistance.
Use a socket wrench to tighten it into place. Often, half a turn is enough. Don’t allow the water heater to twist or turn during this process.
Hot water is fundamental in our daily lives. If something goes wrong, you now have the tools to troubleshoot it yourself, but if you prefer professional guidance, contact the pros at Moore Home Services.