The Most Effective Way to Remove a Sink Stopper
Posted by Moore Home Services
Plumbing
Home projects are something we know a lot about. And let’s just say, some are easier than others. Of all things in your home, removing your bathroom sink stopper is surprisingly complicated.
If you’re lucky, your sink stopper can just be lifted out. For many others, this is not the case. Here is the most effective way to remove a sink stopper.
The Types of Sink Stoppers
If you’re a homeowner who’s lucky enough to have a sink stopper that’s removed quickly, you’re lucky. For the rest of us it takes a little extra work to get the stopper out and clean the drain.
There are
three common types of sink stoppers found in the average bathroom basin.
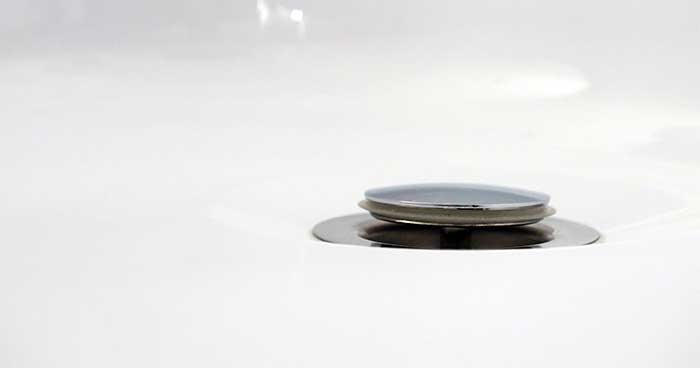
- Pop-Up – This is the type of sink stopper we see in most people’s homes. A pop-up stopper is operated by a lift handle, which is usually found by the handles and faucet. This little lift handle pushes the stopper up and down.
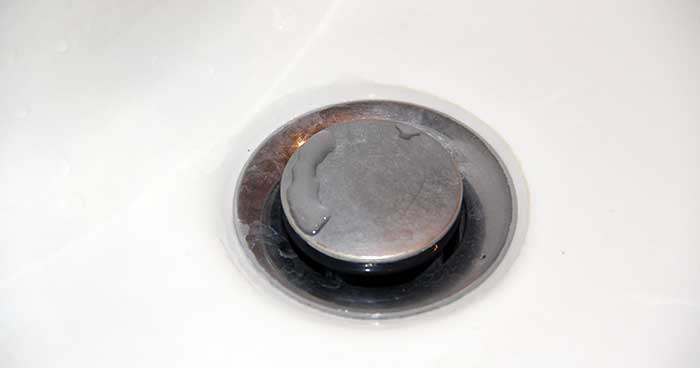
- Lift-And-Turn – This type of stopper is easy to identify and remove. They are distinguished by the knob in the middle of the stopper itself. Simply turn this knob and pull to remove it.
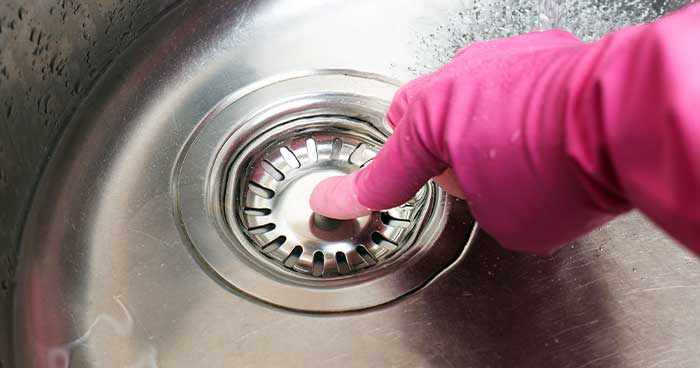
- Push-And-Pull – A push-and-pull stopper looks very similar to a pop-up stopper; however, they do not operate the same way. A push and pull stopper should just be pulled out of the drain.
How to Remove a Sink Stopper – Step by Step
For push-and-pull and lift-and-turn stoppers, all you need to do is pull them out. Easy. The problem is with the traditional pop-up stopper.
Here is the most effective way to
remove a pop-up sink stopper.
1. Locate the Clevis Strap and Pivot Rod.
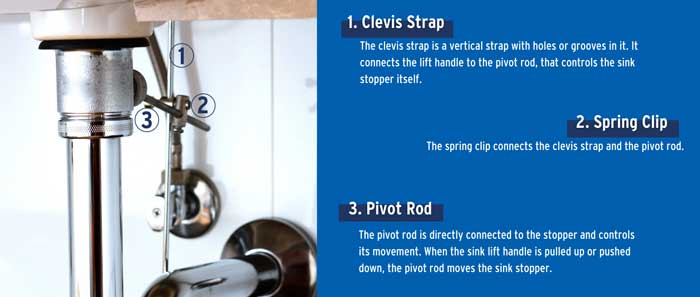
- This type of sink stopper is controlled by the lift handle. This small bar is found behind the sink faucet and water knobs. The lift handle is controlled by something called a clevis strap.There are three main parts that aid in the movement of this sink stopper: the clevis strip, the spring clip, and the pivot rod. The pivot rod controls the movement of the stopper itself and the spring clip keeps everything together.Your first step in this process should be to find the clevis strap and where it’s connected to the pivot rod.
2. Remove the Pivot Rod
- Now that you know where the clevis rod is, it’s time to take everything apart.
First, remove the spring clip that keeps the two parts together.It’s very important you don’t forget where you placed the spring clip. without it, nothing can be put back together.Don’t forget to put a bucket under the pipe to catch any stray water that may come spurting out. Now, remove the pivot rod.Pivot rods have a small nut at the end of them. Because of this nut, you may need to use pliers to remove the pivot rod.
3. Remove the Sink Stopper!
- Now that you’ve removed the clevis strap, spring clip, and pivot rod it’s time to remove the sink stopper.When you get it out of the drain, be sure to clean the stopper itself and the drain. We are sharing our favorite ways to clean both parts.
The Best Way to Clean a Sink Stopper
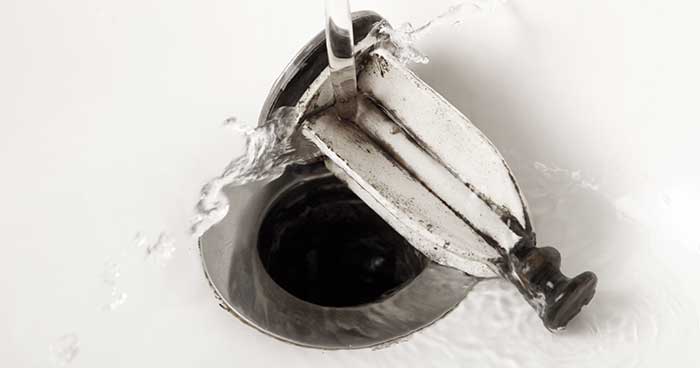
White vinegar is truly an amazing cleaning agent. You can use it on your showerhead, your drains, and really
almost anything else in your home.
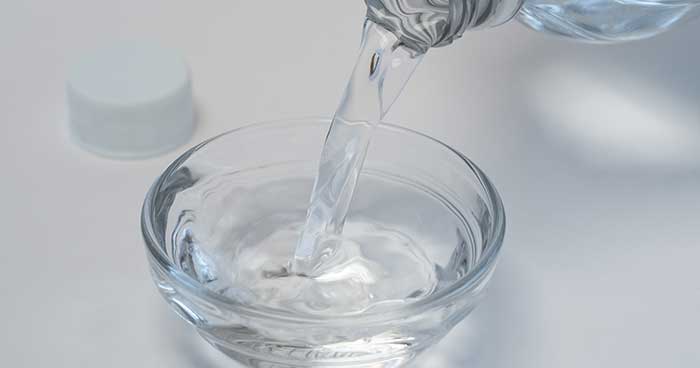
When you remove the sink stopper, fill a bowl with white vinegar. Enough vinegar to fully immerse the sink stopper. Let it soak for 15-20 minutes.
After enough time has passed, remove the sink stopper and wipe it down with a washcloth or old toothbrush. Return the stopper to the drain and now you’re ready to put everything back together.
How to Put it all Back Together
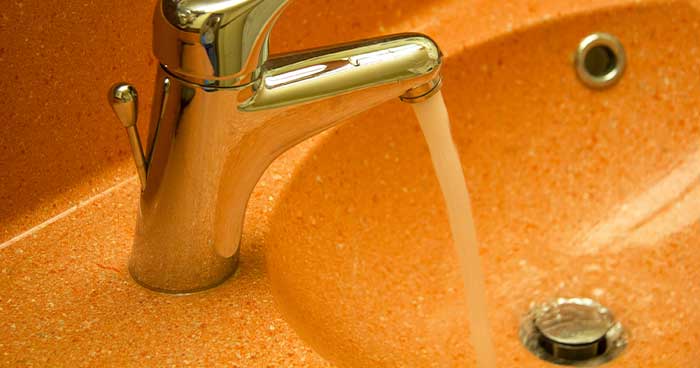
This is why it’s so important to remember where you left the spring clip. Everything needs to be accurately put back into place.
First, put the stopper back in the drain. Make sure it’s fully in and then it’s time for the pivot rod and nut. Align the pivot rod with the stopper and make sure you push the nut fully into the pipe. This may require some force and even pliers.
Make sure to push the stopper up and down to see if everything is properly connected. The next step is to reattach the clevis strap to the pivot rod.
Make sure everything fits well and then put the spring clip back on. Test the lift handle to make sure everything moves correctly.
You’re not done yet, run the water in your sink to make sure nothing is leaking. After that, you’re done.
Tips for Clearing a Drain
The man reason people remove the sink stopper is to clean the stopper itself and the drain. At Moore Home Services, we don’t recommend using chemical drain cleaners. Below are our favorite ways to naturally clear a drain.
- Baking Soda and Vinegar – This is our favorite way to alleviate small buildups. Simply mix 1/3 cup baking soda with 1/3 cup of vinegar. Mix the two, when they start to fizz, pour the concoction down the sink. Leave it for one hour then flush with boiling water.
- Baking Soda and Salt – When put together, baking soda and salt can breakdown almost any small sink backup. Mix ½ cup baking soda with ½ cup of salt and pour it down the drain. Let the mixture 15 minutes to work it’s magic then flush with boiling water.


 For push-and-pull and lift-and-turn stoppers, all you need to do is pull them out. Easy. The problem is with the traditional pop-up stopper.
Here is the most effective way to remove a pop-up sink stopper.
1. Locate the Clevis Strap and Pivot Rod.
 White vinegar is truly an amazing cleaning agent. You can use it on your showerhead, your drains, and really almost anything else in your home.
When you remove the sink stopper, fill a bowl with white vinegar. Enough vinegar to fully immerse the sink stopper. Let it soak for 15-20 minutes.
After enough time has passed, remove the sink stopper and wipe it down with a washcloth or old toothbrush. Return the stopper to the drain and now you’re ready to put everything back together.
 This is why it’s so important to remember where you left the spring clip. Everything needs to be accurately put back into place.
First, put the stopper back in the drain. Make sure it’s fully in and then it’s time for the pivot rod and nut. Align the pivot rod with the stopper and make sure you push the nut fully into the pipe. This may require some force and even pliers.
Make sure to push the stopper up and down to see if everything is properly connected. The next step is to reattach the clevis strap to the pivot rod.
Make sure everything fits well and then put the spring clip back on. Test the lift handle to make sure everything moves correctly.
You’re not done yet, run the water in your sink to make sure nothing is leaking. After that, you’re done.
 The man reason people remove the sink stopper is to clean the stopper itself and the drain. At Moore Home Services, we don’t recommend using chemical drain cleaners. Below are our favorite ways to naturally clear a drain.

